
Alerts — Customize a Template
dAio's alert templates cover the most common business scenarios, but every organization has its own tolerance thresholds, operating hours, and communication channels. Customization turns a generic template into an alert tailored to your sites, your teams, and your constraints — so you only receive the notifications that actually trigger a decision.
This page details every setting of the alert configurator: thresholds, monitored site, time range, predictive lead time, cooldown, and notification channels. For an overview of the alert system, start with Alerts — Overview.
Tip: always start from an existing template. It is pre-filled with proven thresholds for your industry — you then only adjust the values that matter to you, instead of building everything from scratch.
Open the configurator
- Go to Alerts.
- Click New alert in the top right.
- Choose the category matching your need (the categories most relevant to your organization's industry appear first).
- Select a template from the list.
- Adjust the settings described below.
- Click Activate alert.
Warning: creating and editing alerts is reserved for the organization's owner and administrators. Other members receive alerts for the sites assigned to them but cannot configure them. See Team & roles.
Site to monitor
Select the location where the alert should be active. Only your organization's sites are offered. To monitor the same condition across several locations, duplicate the alert and simply change the site.
Tip: name your alerts by site right from creation ("Frost — Site A12") to find them at a glance in the list as they multiply.
Conditions and thresholds
The heart of the alert. Each condition compares a weather or environmental parameter against a value of your choice, using an operator. Adjust the values pre-filled by the template directly.
Available operators
| Symbol | Operator | Meaning |
|---|---|---|
≥ | gte | Greater than or equal to the threshold |
≤ | lte | Less than or equal to the threshold |
> | gt | Strictly greater than |
< | lt | Strictly less than |
= | eq | Equal to the value |
≠ | neq | Different from the value |
↔ | between | Between two bounds (min ↔ max) |
Measurable parameters
Conditions rely on parameters such as:
- Temperature (°C) — actual or feels-like temperature
- Wind (km/h) — average speed and gusts
- Precipitation (mm) — amount and probability
- Relative humidity (%)
- UV index
- Visibility (m)
- Cloud cover (%)
- Surface pressure (hPa)
When a template combines several conditions, a logic links them: AND (all conditions must be met) or OR (just one is enough). This logic is defined by the template; to change it freely, create a custom alert.
Tip: tighten a threshold to gain safety (crane alert at 50 km/h instead of 60), loosen it to reduce noise. Adjust after a few days of observation rather than at creation time.
Time range and days
By default, an alert monitors continuously. Enable the Time range setting to limit monitoring to the relevant moments:
- Hours: for example, from 07:00 to 20:00, to avoid nighttime notifications.
- Days: select working days (Monday to Friday by default) and exclude weekends or closing days.
Warning: if no condition is met during the active window, no notification is sent — this is the expected behavior. Check your hours if you think you are missing alerts.
Predictive alert
Instead of reacting to a current condition, dAio can alert you in advance thanks to forecasts. Choose the lead-time horizon:
| Horizon | Lead time |
|---|---|
| Real time | Condition observed now |
| 6 h / 12 h | A few hours ahead |
| 1 day (24 h) | The day before |
| 2 to 3 days | Short-term planning |
| 5 to 7 days (168 h) | Weekly planning |
A reliability gauge shows the forecast confidence for the chosen horizon: it decreases the further out in time you go. The shorter the horizon, the higher the reliability.
Tip: for logistics decisions (equipment rental, crew scheduling), a horizon of 24 to 48 h offers the best trade-off between lead time and reliability.
Cooldown
The cooldown defines the minimum delay between two notifications for the same alert, to avoid spam when a condition persists:
| Cooldown | Typical use |
|---|---|
| 2 hours | Critical, fast-changing conditions |
| 6 hours | Balanced default setting |
| 12 hours | Routine monitoring |
| 24 hours | One reminder per day maximum |
| 48 hours | Slow conditions (drought, prolonged frost) |
Tip: if a team complains about too many notifications, increase the cooldown before disabling the alert. You keep the coverage without the alert fatigue.
Notification channels
Choose how the alert is delivered. Several channels can be combined.
| Channel | Description |
|---|---|
| Push | In-app notification (included) |
| Email to members assigned to the site (included) | |
| SMS | Text message (uses SMS credits) |
| WhatsApp message (uses WhatsApp credits) |
Warning: the SMS and WhatsApp channels require a phone number verified in the profile settings. Without a verified number, these channels remain inactive even if checked.
Edit an existing alert
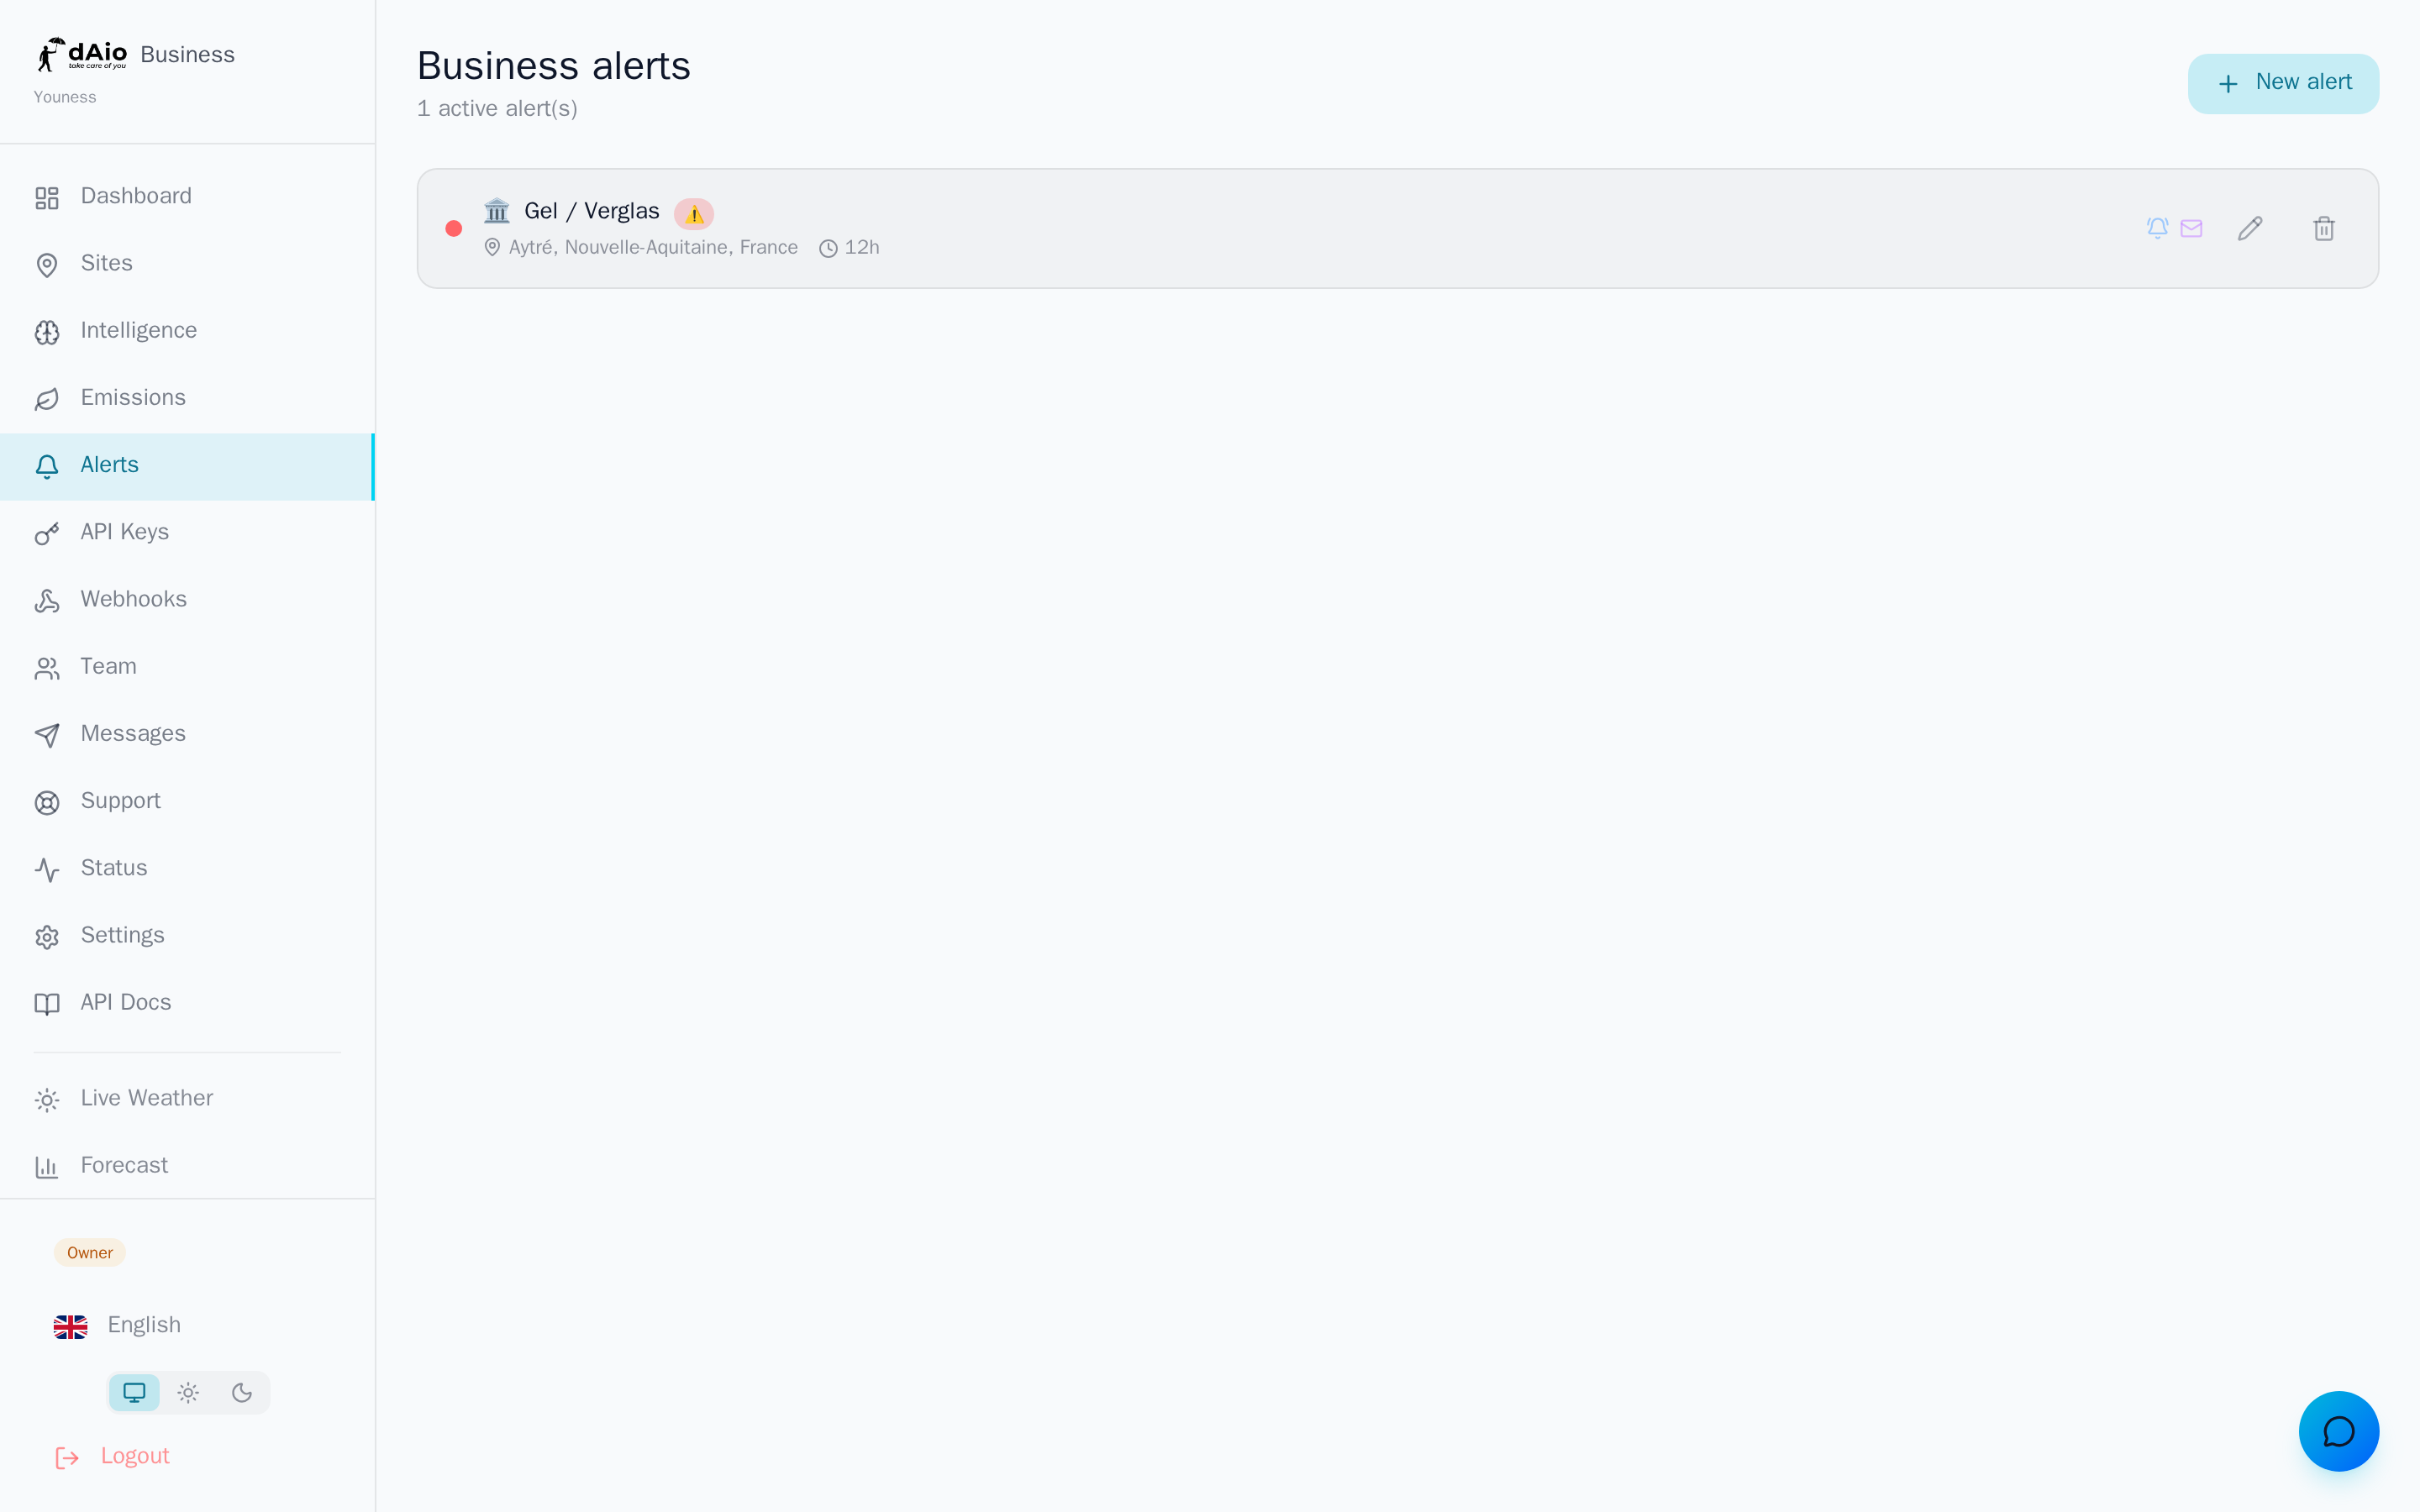
From the alert list, click the pencil icon of an alert to reopen the configurator with all its settings already loaded. Change whatever you want, then Save. The alert's active/inactive state is preserved.
To delete an alert, use the trash icon; a confirmation is requested.
Custom alerts and AI assistant
If no template fits, two options appear at the bottom of the template list:
- Create custom — build your conditions one by one: source, parameter, operator, value, and
AND/ORlogic between them (up to 8 conditions). See Custom alerts. - Create with AI — describe the alert in natural language ("Warn me when the wind exceeds 40 km/h on the north site"). The assistant generates the conditions, which you then validate and adjust in the configurator. Voice input is available. See AI alerts.
Tip: the AI assistant is ideal for quickly drafting a complex alert. Always review the generated conditions and refine the thresholds before activating.
Best practices
- Start from a template, adjust only the thresholds that matter to your operations.
- One alert = one site: keep alerts targeted and clearly named rather than one catch-all alert.
- Calibrate thresholds over time: observe for a few days, then tighten or loosen based on the noise observed.
- Limit the time range to operating hours to spare teams at night and on weekends.
- Reserve SMS and WhatsApp for truly critical conditions: they use credits and cut the user off from their workflow.
- Assign a contact per site (Team) so the right people receive the right alerts.
Tip: once your alerts are in place, track their triggering in Alerts — Overview and cross-reference them with the site's intelligence to turn each notification into an operational decision.