
Sites
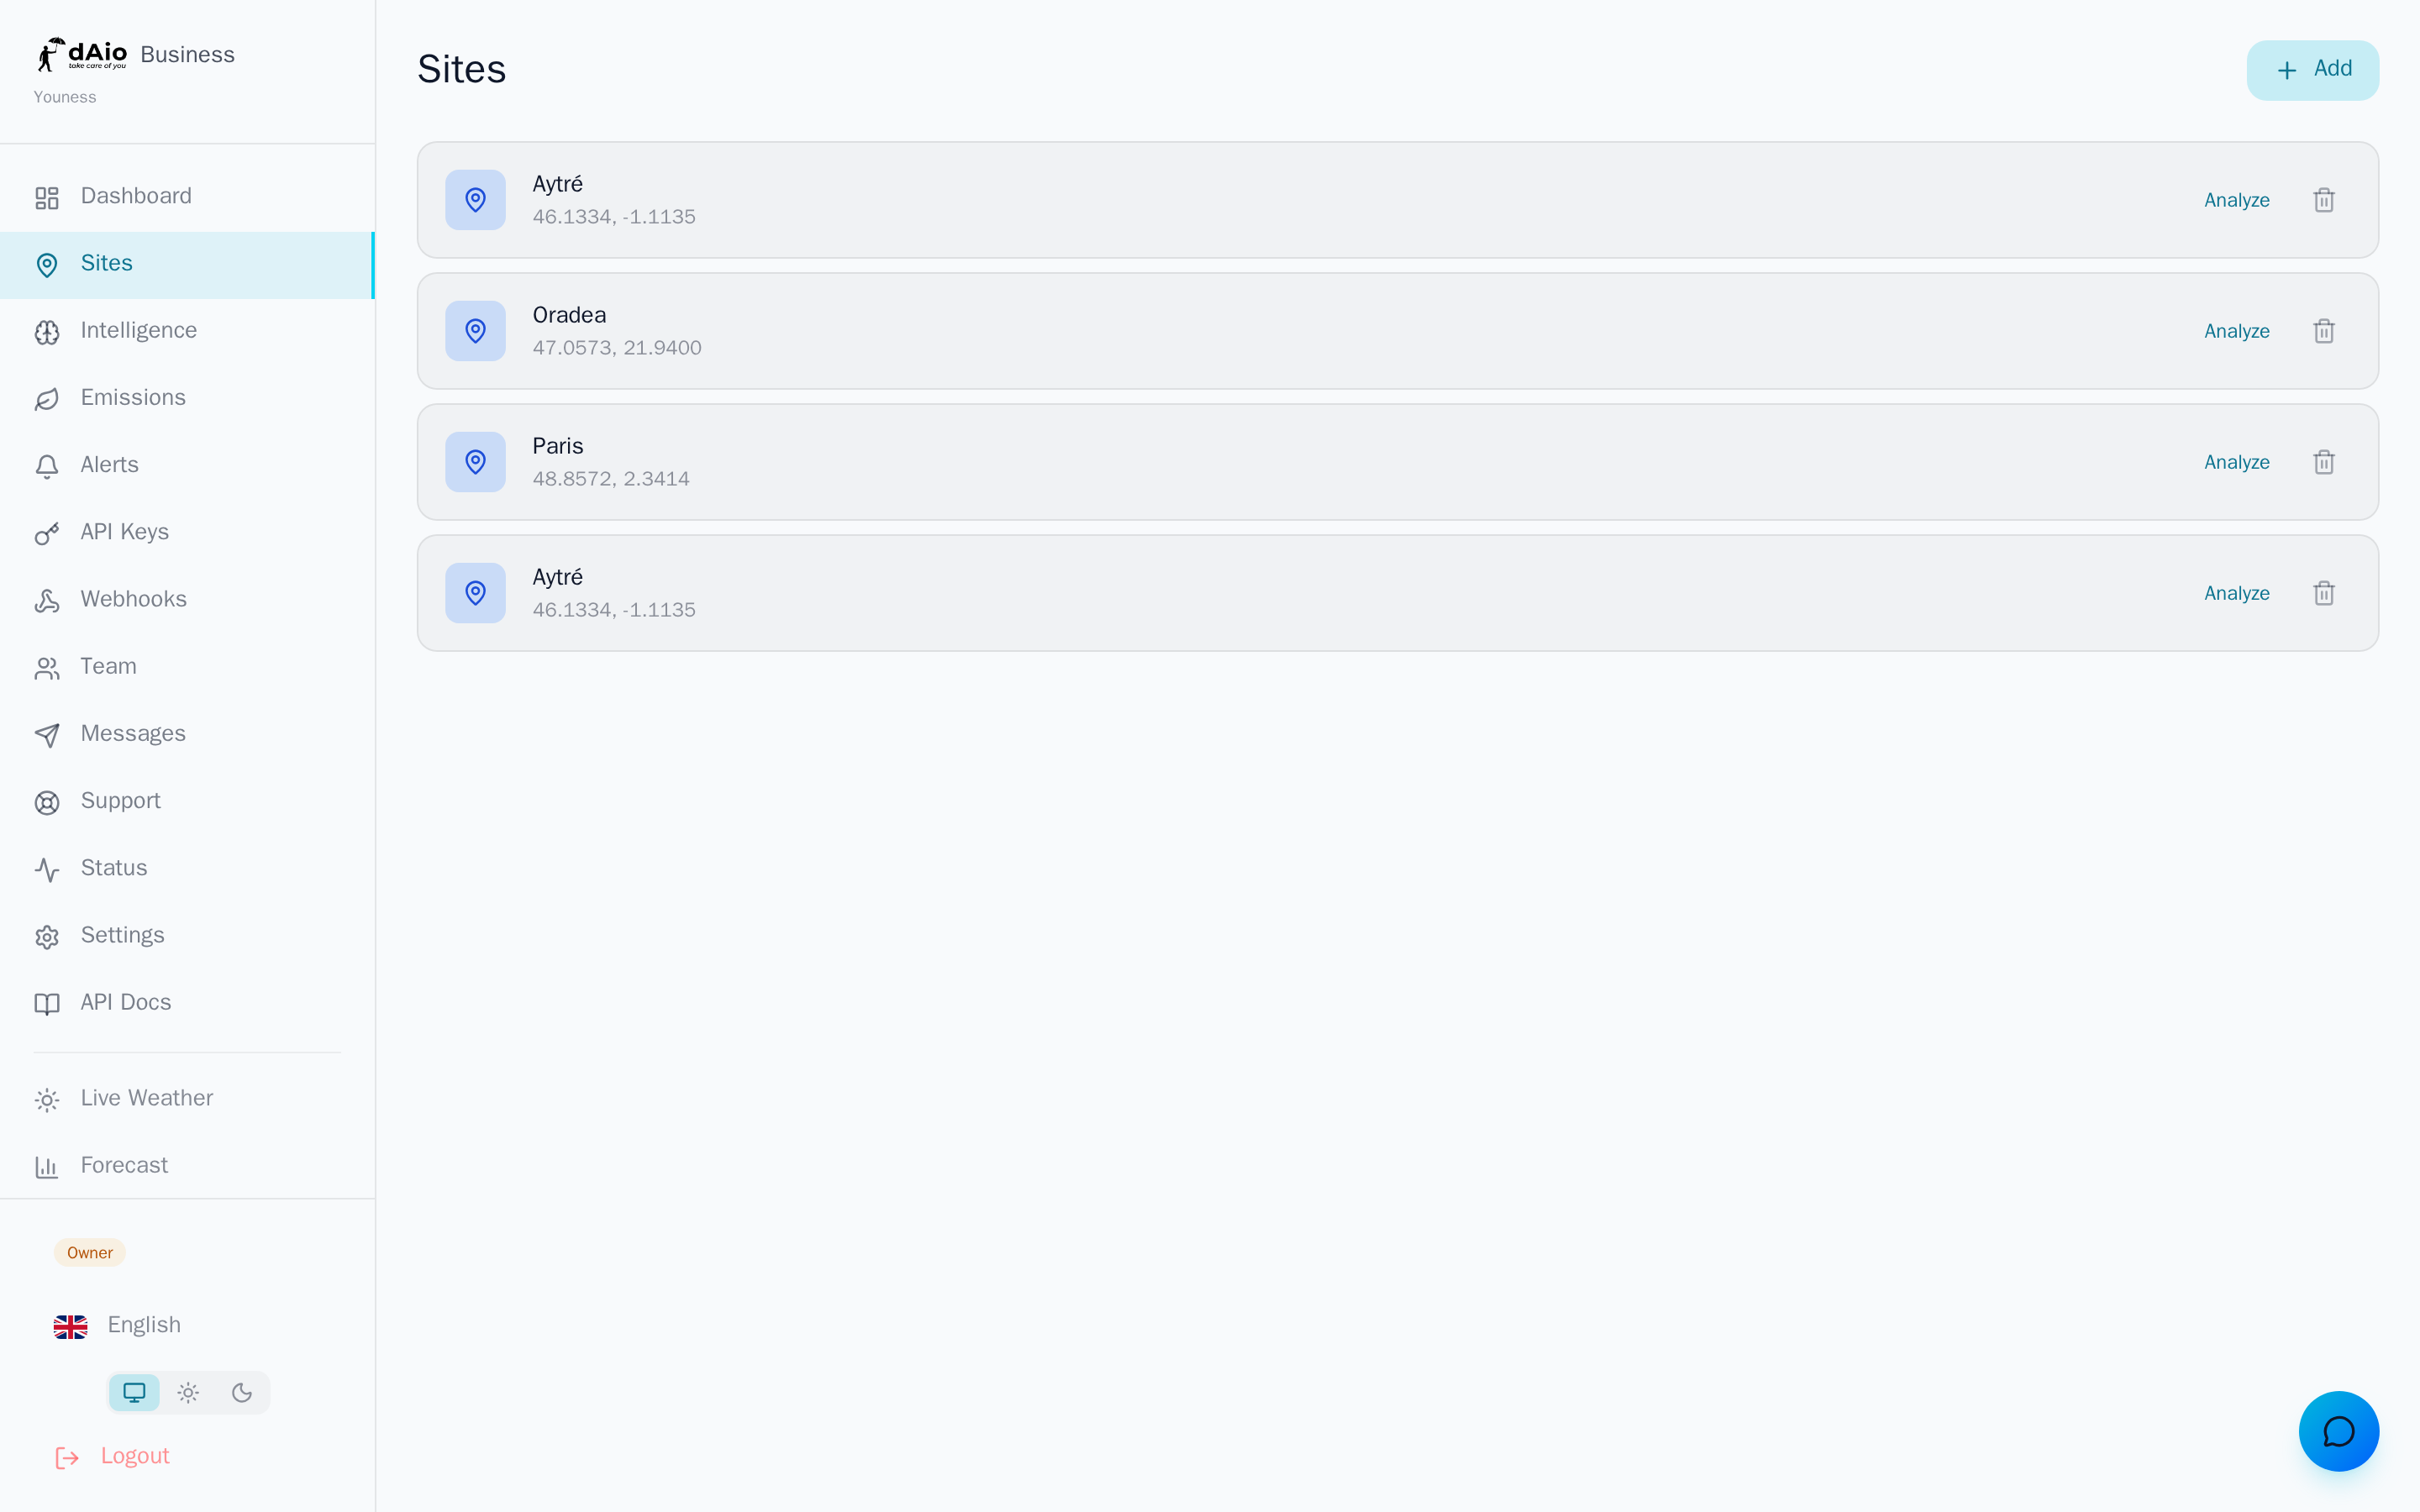
Sites are the foundation of dAio Business. Each site represents a physical location you monitor — a construction site, warehouse, farm, point of sale, or branch office. It is from your sites that dAio generates personalized weather intelligence, triggers alerts, and calculates your emissions per location.
Without a site, the platform has nothing to anchor to: always start by declaring your key locations.
Tip: think "useful granularity." Create one site per location actually in operation rather than a single site for the entire organization. You'll get far more actionable forecasts, alerts, and carbon tracking.
Adding a site
Click Add in the top right of the list. Three complementary methods are available through the form's tabs, depending on the precision you have.
1. Address search
The fastest method. Type an address, city, or place into the search bar: from two characters onward, autocomplete queries the geocoder and suggests up to five results. Select the right one — the site is created instantly with its exact coordinates.
Tip: results are returned in your interface language. Specify the city and country ("Lyon, France") to remove any ambiguity between places with the same name.
2. Interactive map
The Map tab displays a navigable map. Click the desired spot to drop a marker: dAio performs reverse geocoding and automatically suggests the name of the place. Check the location, then confirm with Add. Ideal for isolated sites with no clear postal address (a plot of land, a structure, an intervention zone).
3. GPS coordinates
The GPS tab allows manual entry for maximum precision. Fill in the site name, the latitude, and the longitude (in decimal degrees), then confirm. Use this when you already have coordinates measured in the field or supplied by a third-party system.
Tip: latitude ranges from -90 to 90, longitude from -180 to 180. Use the period as the decimal separator (e.g.
45.7640,4.8357).
Site fields
| Field | Description |
|---|---|
| Name | The site's label. Filled in automatically by address search or the map; required for manual GPS entry. Choose a name that speaks to your teams ("North Warehouse," "Site A12"). |
| Industry | Defines the analysis framework applied to the site. By default, the site inherits your organization's industry, which tailors the risk scores and alert thresholds to your line of business. |
| Coordinates | Latitude and longitude, shown beneath the name in the list. They determine the weather and environmental data retrieved. |
Managing sites
From the site list, each location offers:
- Analyze — opens the site's intelligence directly (forecasts, risk scores, hourly details).
- Edit — updates the name, industry, or coordinates.
- Delete — removes the site and the data attached to it (alerts, intelligence tracking).
Warning: deleting a site is irreversible. The associated alerts and tracking are permanently lost. Emissions reports already generated, however, remain available in the Emissions section. An explicit confirmation is required before any deletion.
Assigning to members
You can restrict a site's visibility to specific team members:
- Open the site in question.
- Under Assigned members, select the authorized colleagues.
- Assigned members gain access to the site's data and receive its alerts.
The owner and administrators (admin) see every site without restriction. Other roles only see the sites explicitly assigned to them — useful for compartmentalizing information by region or by manager.
Tip: assign each site to a field lead. They'll receive the relevant alerts without flooding the entire organization with notifications outside their scope.
Localized names
City names are automatically translated into each user's language. A site located in "Munich" will display as "München" for a German-speaking colleague and "Monaco di Baviera" in Italian — with no action on your part.
Plan limits
The number of sites depends on your subscription:
| Plan | Maximum sites |
|---|---|
| Solo | 5 |
| Team | 25 |
| Enterprise | Unlimited |
When the limit is reached, delete an inactive site or upgrade to a higher plan to add new ones.
Best practices
- Name your sites clearly following a shared convention (type + location) to find them at a glance.
- Verify the coordinates of isolated sites on the map: a misplaced marker skews forecasts, alerts, and emissions.
- Assign a lead to each site to streamline alert handling.
- Tidy up regularly: archive or delete locations no longer in operation to stay within your quota and keep a readable dashboard.
- Cover your critical sites first: start with the locations most exposed to weather hazards or emissions stakes.
Tip: once your sites are in place, configure your alerts and explore the intelligence to turn these locations into operational decisions.